Improve Your Emails with iSmart and Apollo Sequencing Integration

Written by Shruti Patel
With our integration with Apollo, you can now leverage advanced email sequencing to enhance your communication strategy. An email sequence is powerful for sending follow-up emails to leads, allowing you to maintain frequent and strategic contacts with your audience. Whether you are sharing special offers or targeting email campaigns, email sequencing ensures regular and effective engagement. Explore our resources and learn how to set up and manage email sequences. Optimize your campaign and get the most out of this integration.
Please follow the below-given steps to learn more about Apollo Integration:
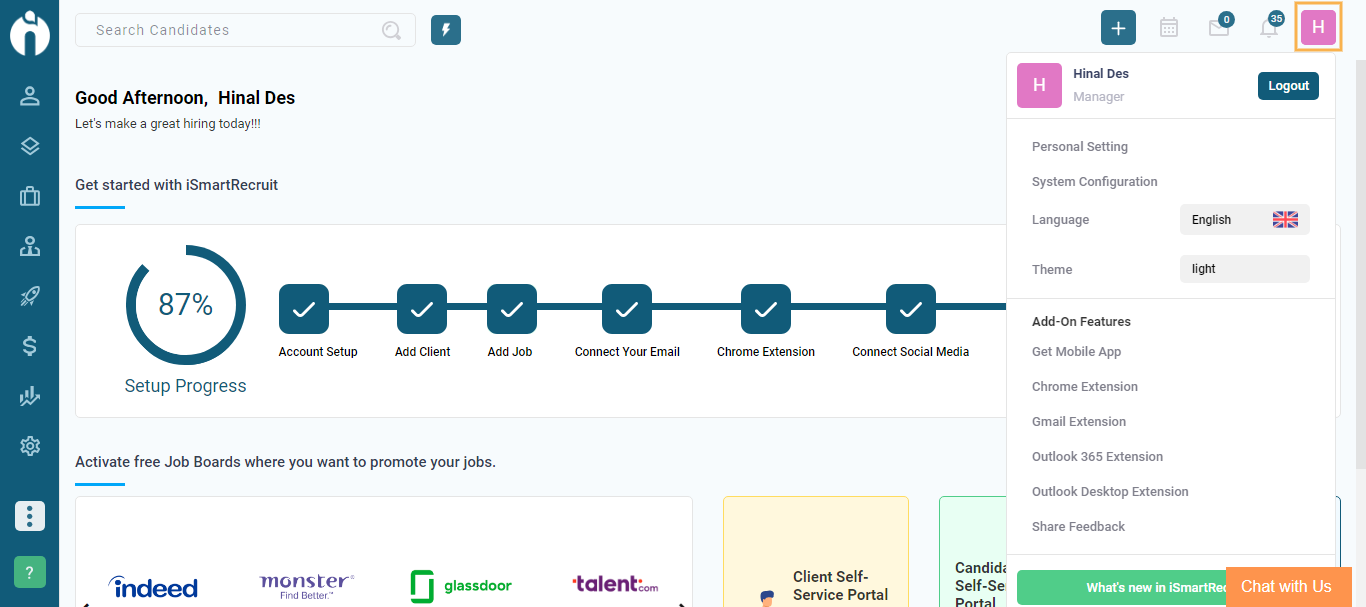
Step 1: Go to the profile icon at the top of the dashboard and click on the profile settings.
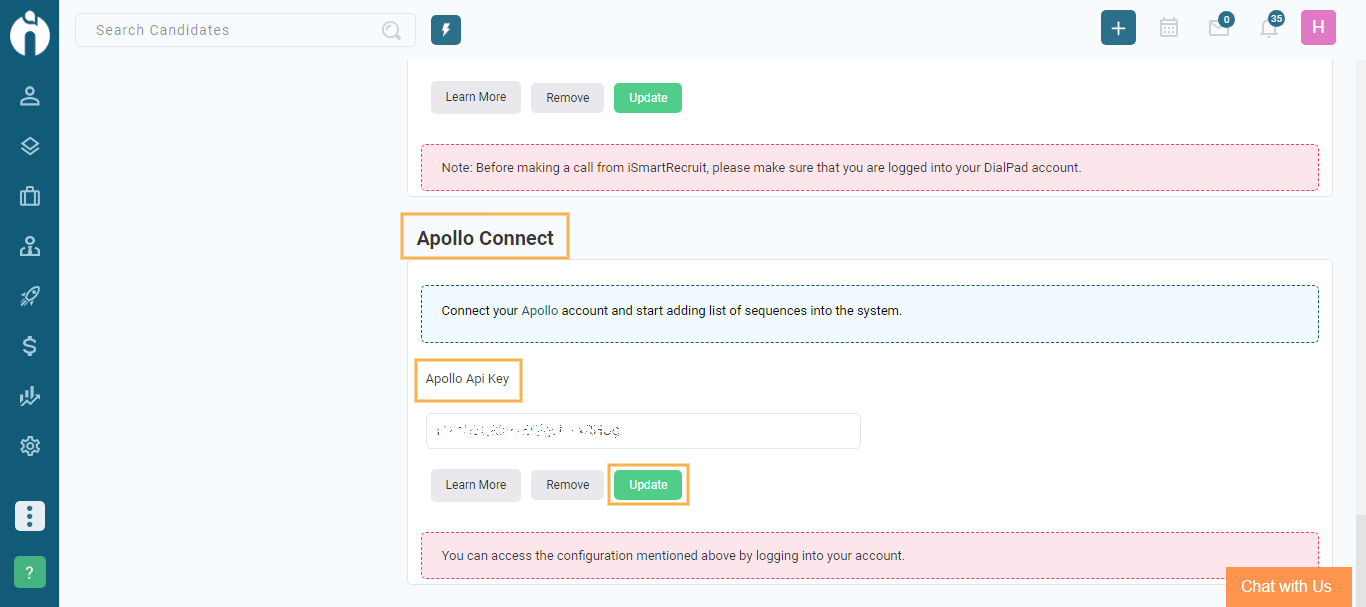
Step 2: In the Personal Settings, navigate towards the Connect tab. In the Connect Tab go to the Apollo Connect Option.

Here you can enter the Apollo API key and click on the update button below to connect Apollo with the iSmartRecruit.

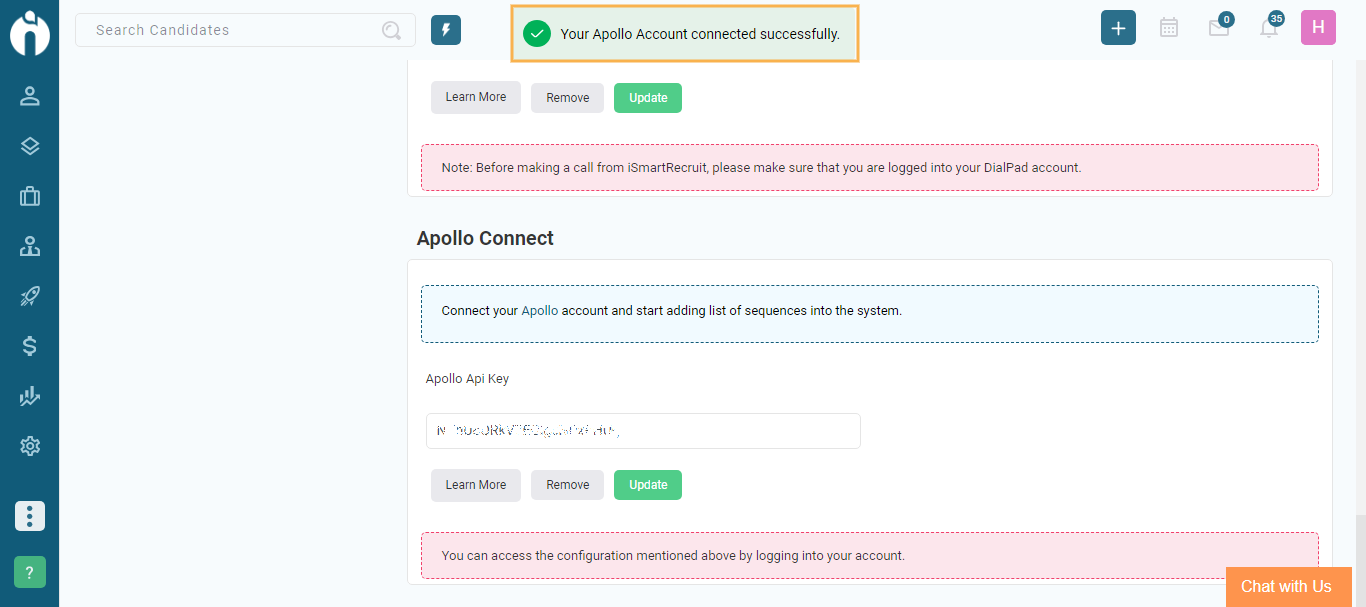
Once the connection is done successfully you will be also notified in the form of a notification.

After Connecting your account with iSmart now you can add candidates and Leads Emails Sequences into the system.
First, we will check for Candidates. Follow the below-given steps:
Step 1: Go to Candidates Module from the left-hand side of the menu.

Step 2: Go to More Actions at the bottom of the Page and click the Add To Sequence option.

Step 3: After clicking on the Add To Sequence option the dialogue named Add to Sequence will appear.
Now here are two Scenarios you need to understand.
Scenario 1: If you have not connected to Apollo in the Personal Setting then the dialogue box of Add to Sequence will appear as shown in the image below:

Now if you click on Apollo you will see the connect option and Refresh option. Once you click on the connect option you will be redirected to the personal Settings. Now go to the Connect tab from Where you can connect your Apollo Account with iSmartRecruit.

You need to enter the Api key and click on the Update button below to connect.
Once you have connected with Apollo successfully the notification will occur.
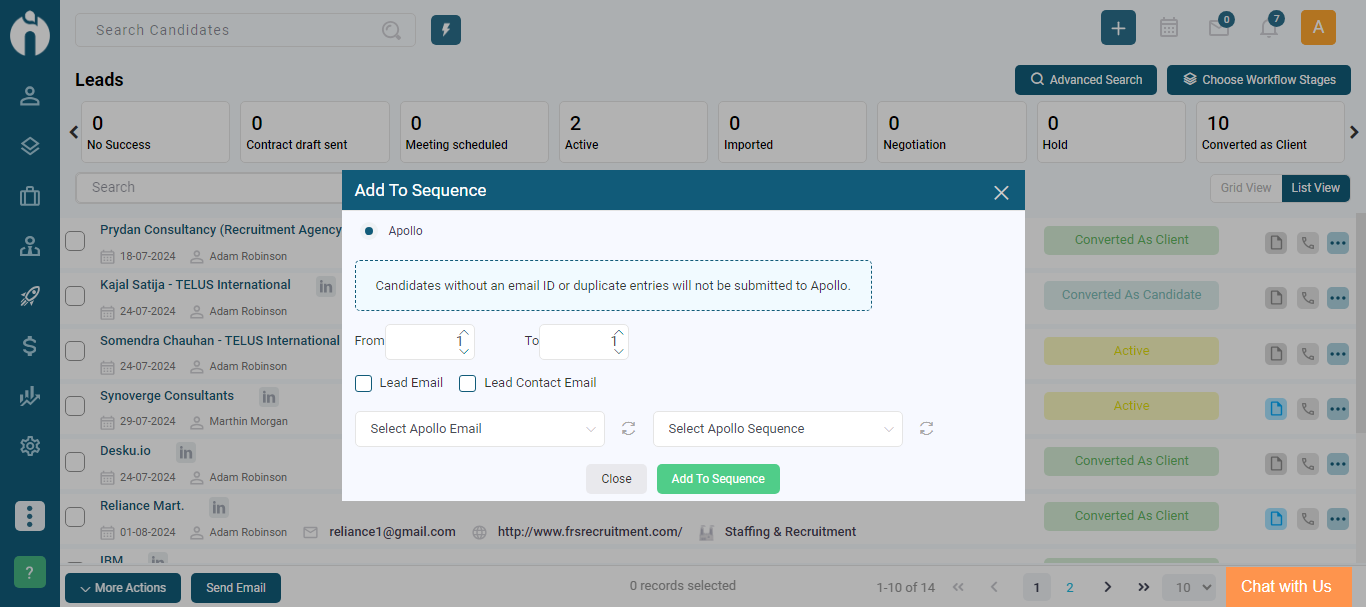
Scenario 2: If you have already connected with Apollo From a personal setting then after clicking on Add to Sequence the dialogue box will appear as shown in the image below.

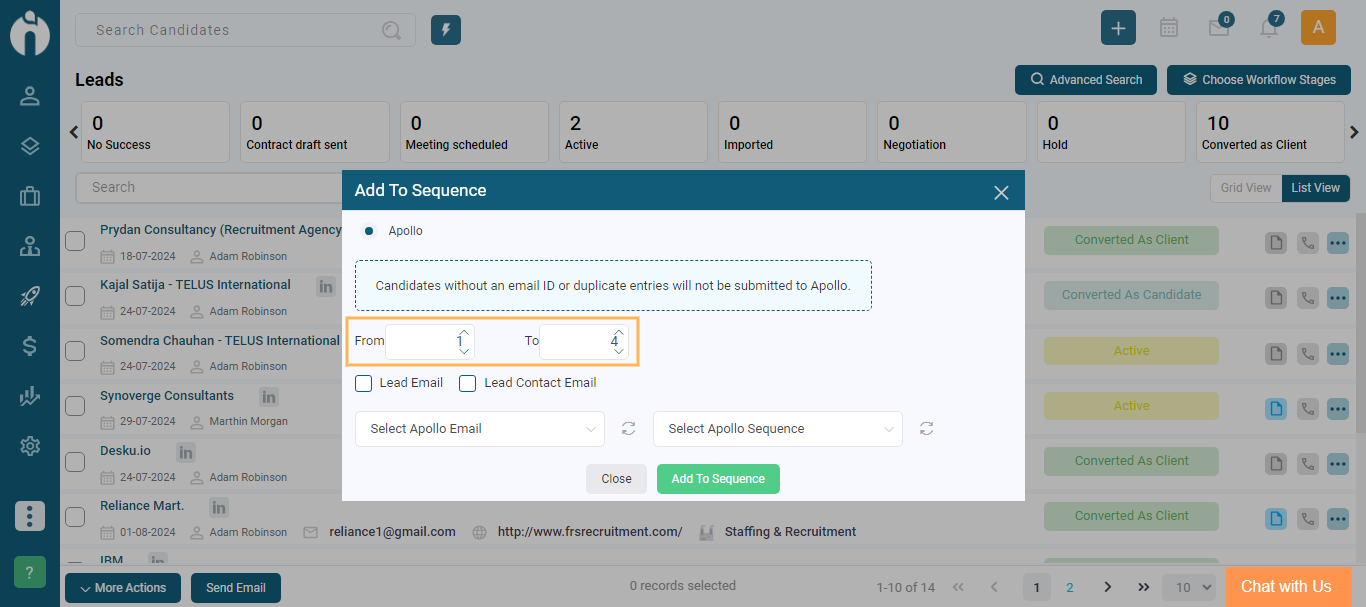
Note: If you have previously selected the candidates and then go to More Actions and click on the Add To Sequence option, the dialogue box will not provide an option to select the range of candidates (i.e., From and To).
Now you can select the Range of Candidates you want to Add to Sequence by selecting From and To in the Dialogue box.
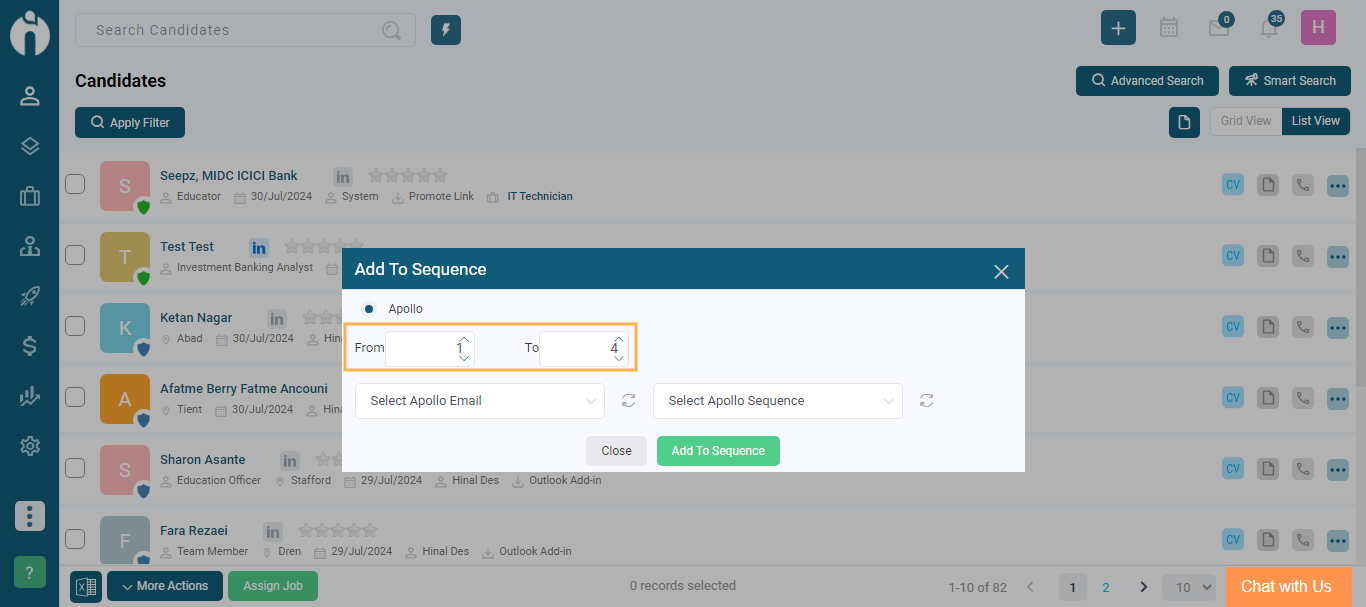
Now you can see there are two separate dropdowns named "Select Apollo Email" and "Select Apollo Sequence" so from there you can select the candidate's Apollo Email and Apollo Sequence.

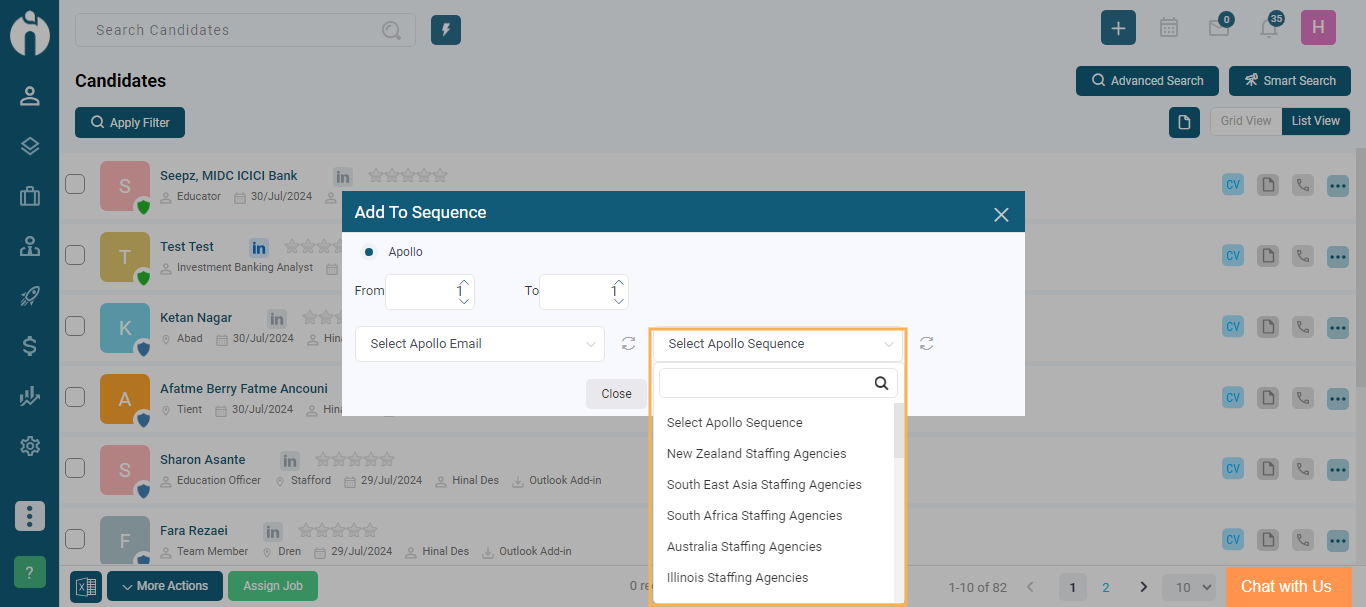
Note: It is mandatory to Select both Apollo Email and Apollo Sequence.
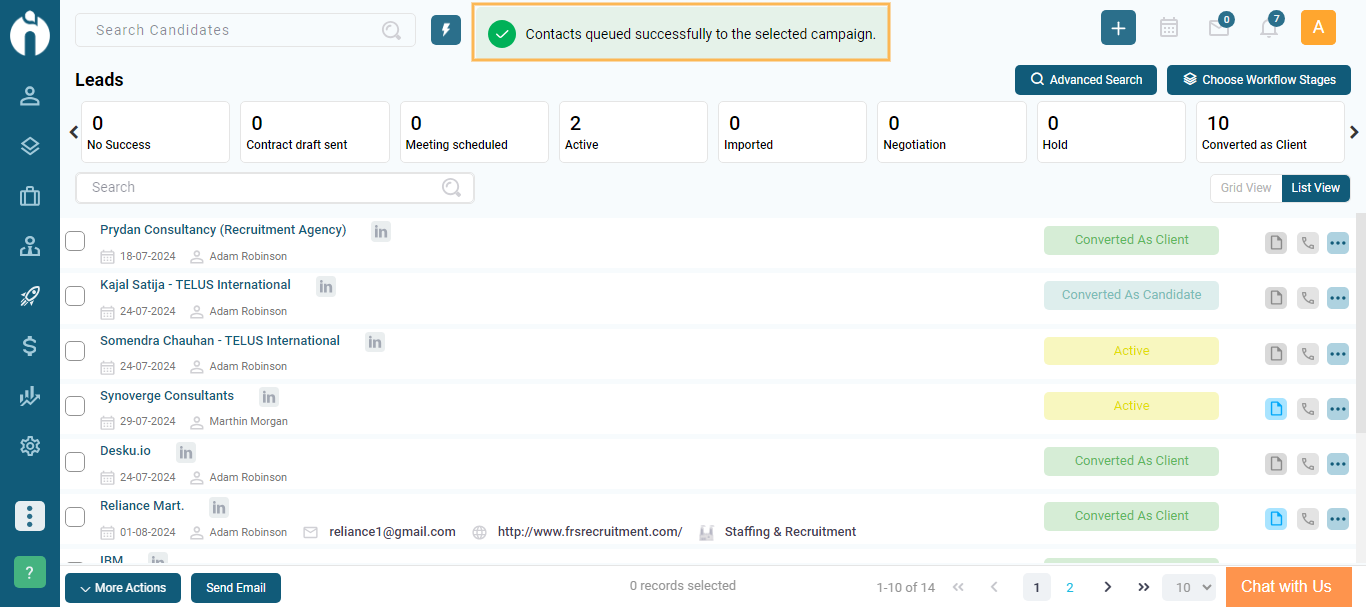
Now after Selecting the Apollo Email and Apollo Sequence Click on the Add to Sequence to add the contacts to the campaign.

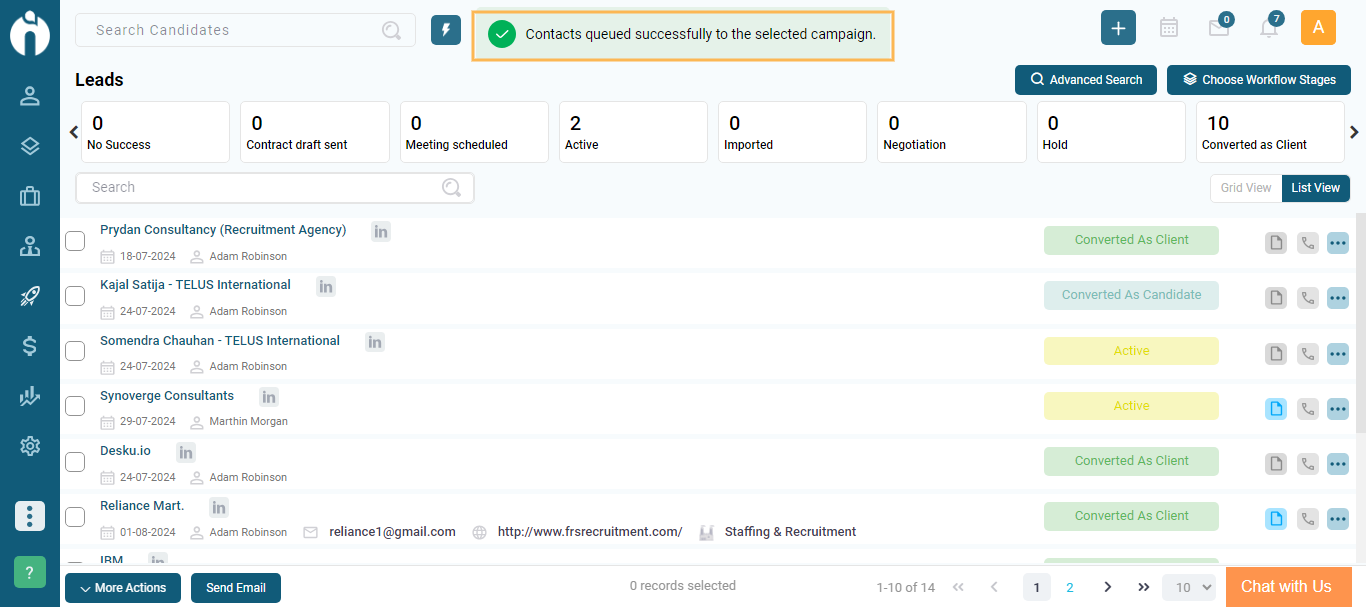
As you click on the Add To Sequence if they are successfully added the notification will occur showing they are successfully added.

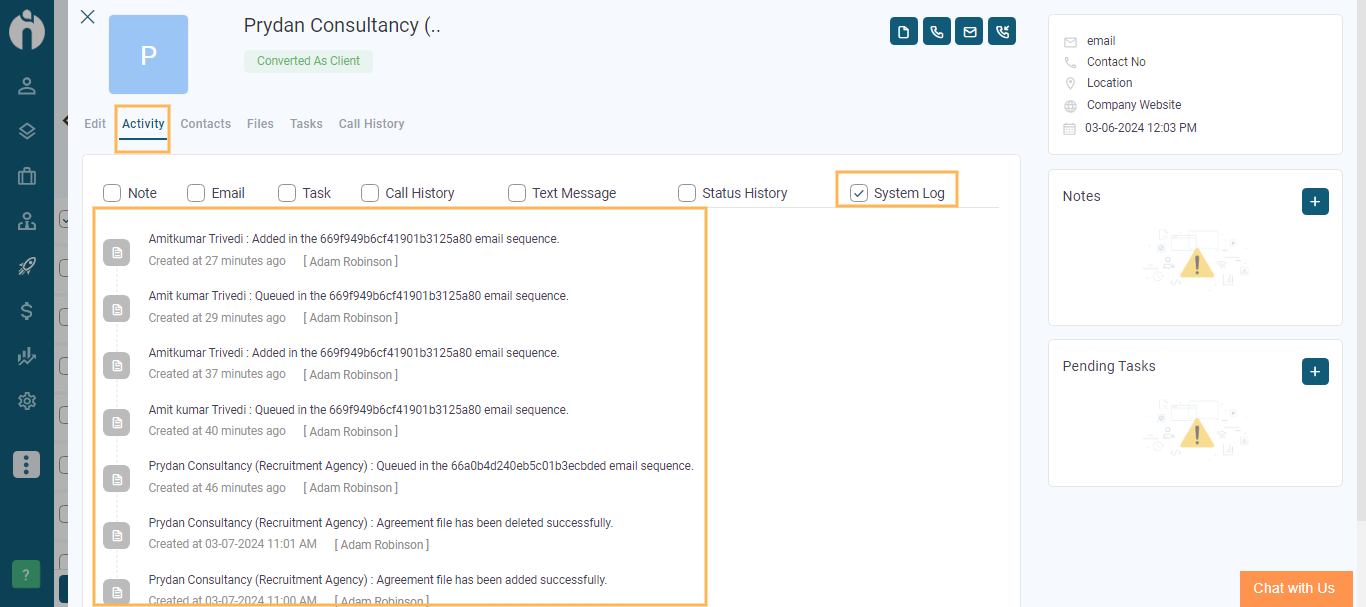
After that to check the contacts are successfully added Go to a specific candidate and the Candidate View dialogue box will appear. Go to the Activity Tab and under the system log you can see a work log entry for the same.
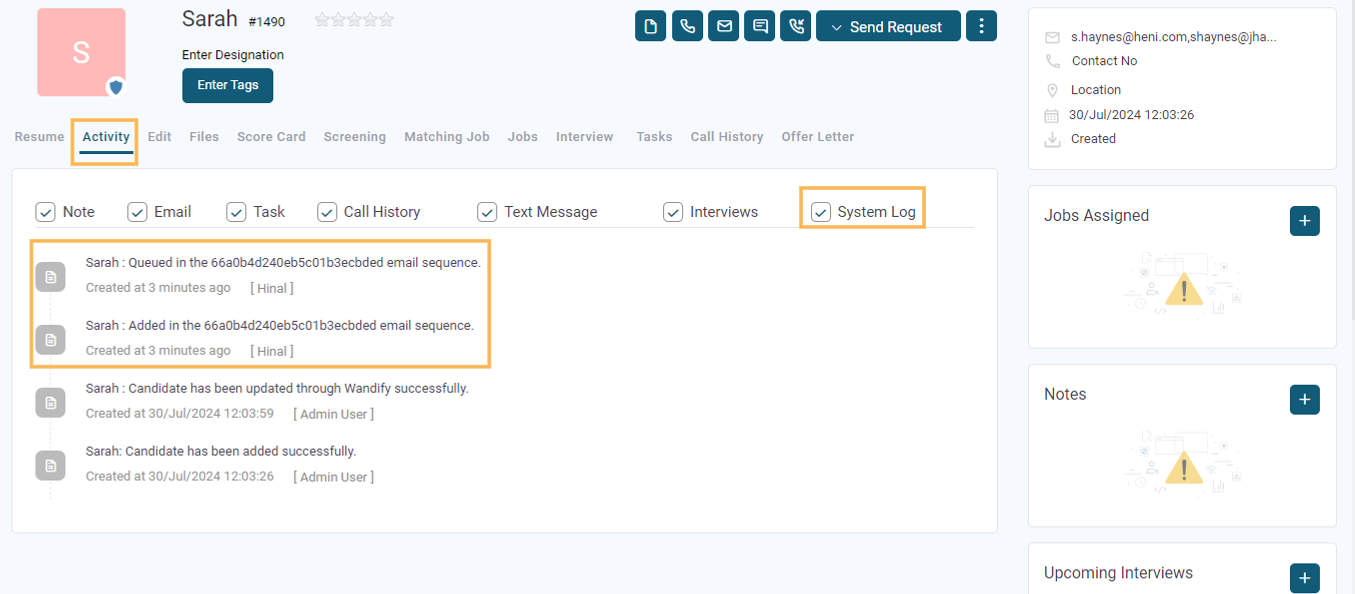
These were the steps on how you can add candidates in the sequences.
Now, Follow the steps on how to Import Candidates from Apollo to iSmartRecruit.
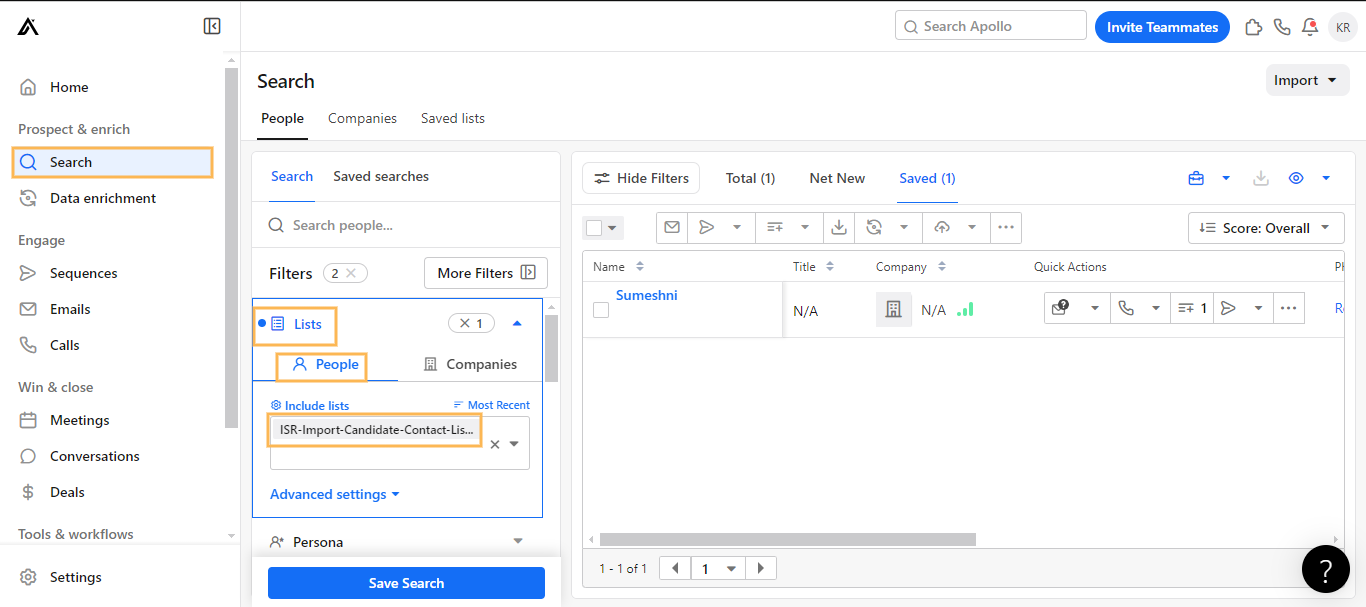
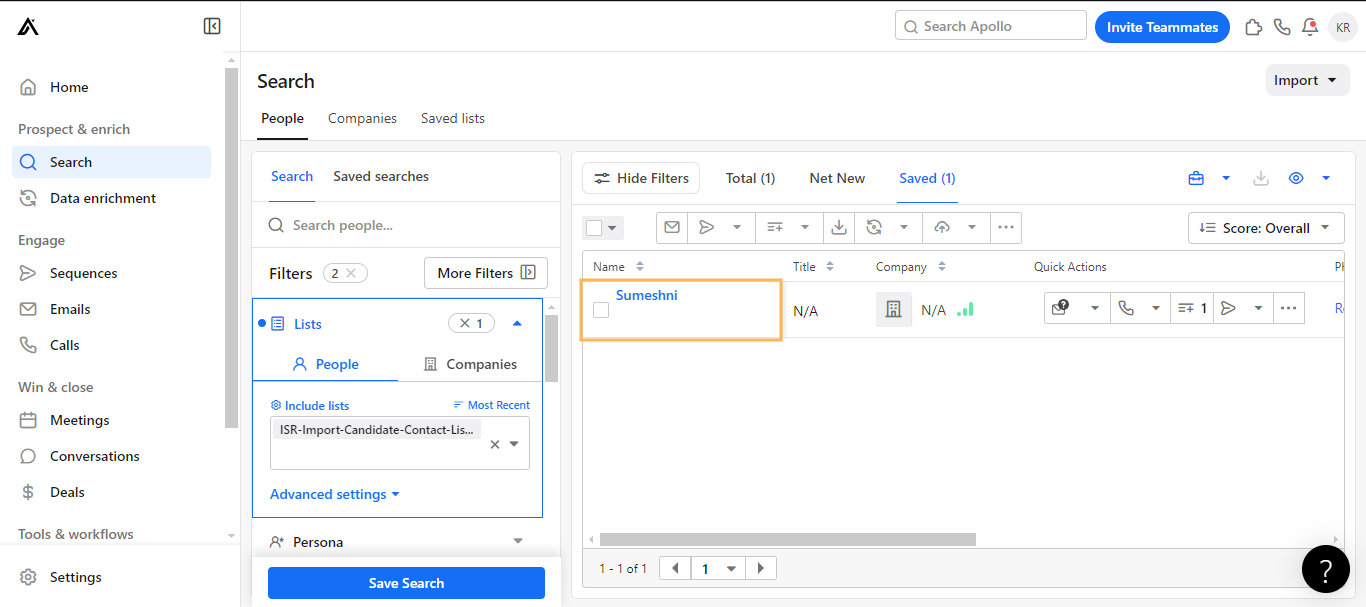
Step 1: Go to the Apollo Platform and find the Search option. Click on the Search option and a new screen will appear. After clicking on Search, go to the List option.
You will see two options: People and Companies. Select the People tab. In the People tab, you need to make a list named ISR-import Candidate Contact list as shown in the image below.
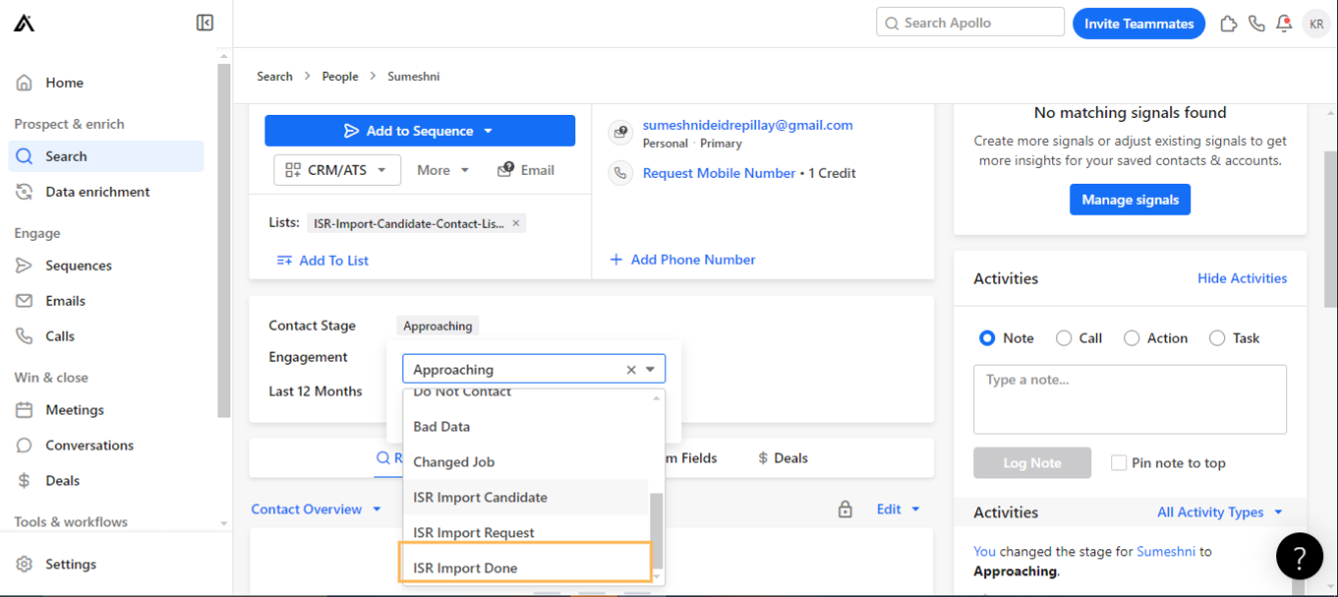
Step 2: After clicking on the name, a new screen will appear. Look for the Contact Stage option. Create a new contact stage named ISR Import Request. Only candidates in this list will be imported to iSmartRecruit.

Step 3: Once the candidates are imported to iSmartRecruit, their contact stage will change to ISR Import Done. So when you make a stage please note it should be of the same names. The source of the imported candidates should be labelled as ‘Apollo’.
This is how you can import the candidates from Apollo to iSmartRecruit.
Now, we will check for the Leads Module. Follow the below-given steps:
Connecting Apollo with iSmartRecruit will be the same procedure as shown for candidates.
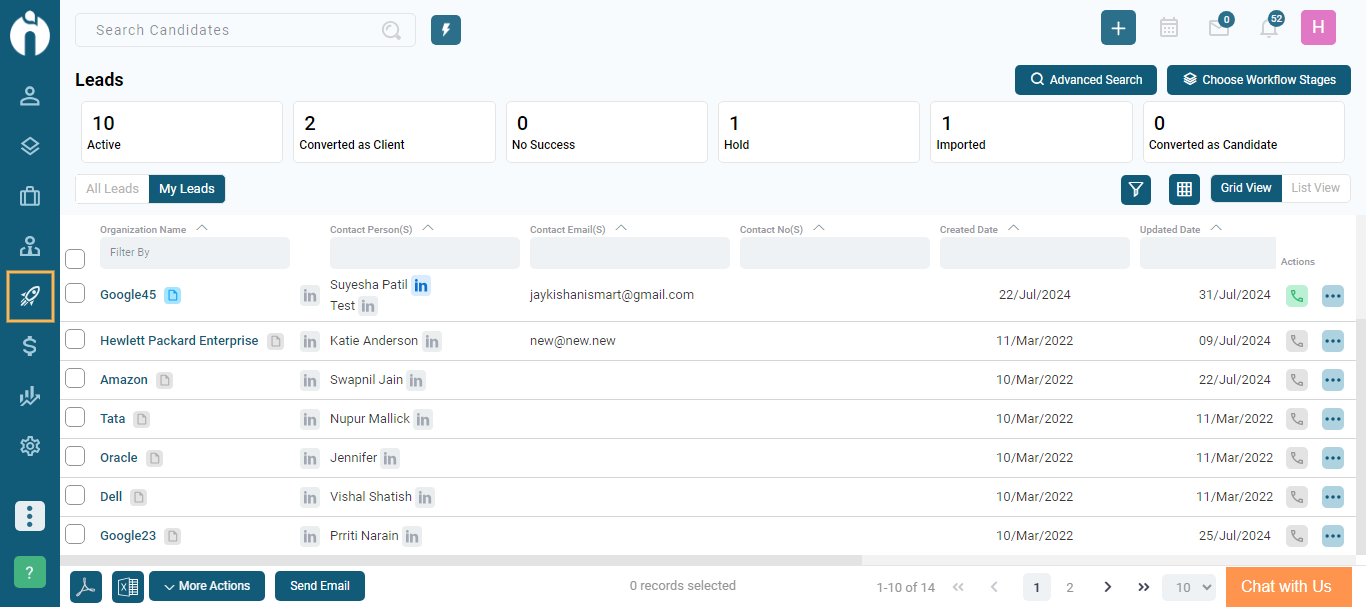
Step 1: Go to the Leads Module from the left-hand side of the menu.
Step 2: Go to More Actions at the bottom of the Page and click the Add To Sequence option.
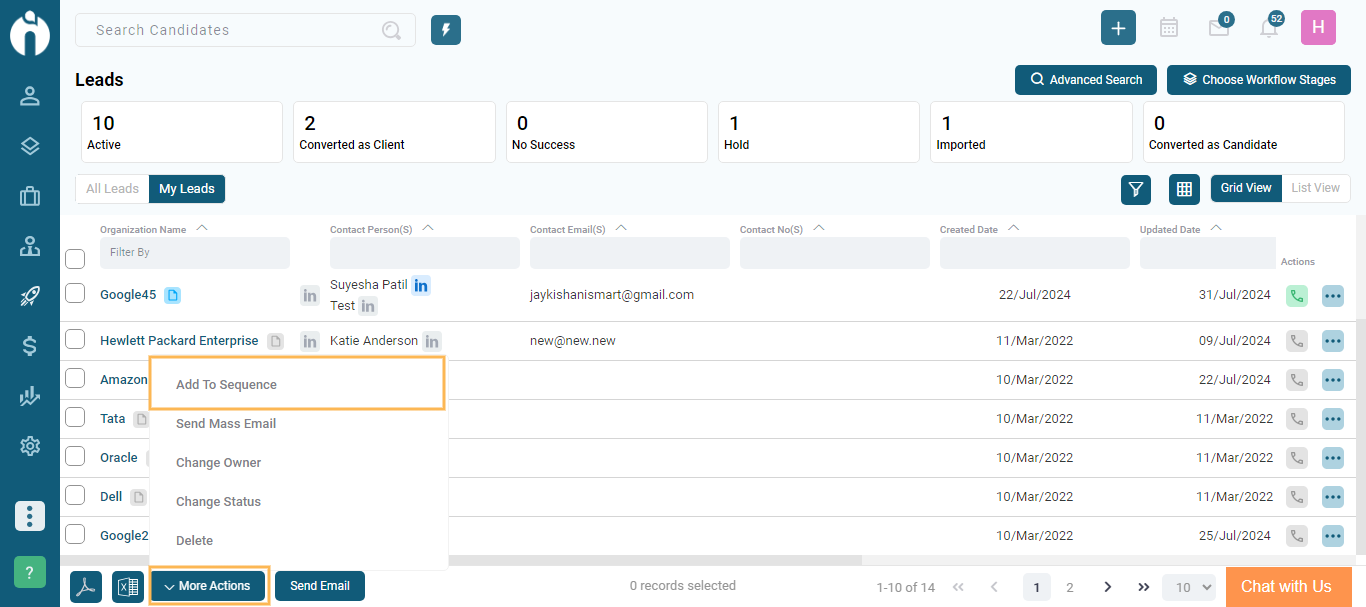
Step 3: After clicking on the Add To Sequence option the dialogue named Add to Sequence will appear. The dialogue box will appear as shown in the image below.
Note: Now here also there are two Scenarios as in the candidate Module. Please refer them as it will work the same for leads too.
If you have previously selected the candidates and then go to More Actions and click on the Add To Sequence option, the dialogue box will not provide an option to select the range of candidates (i.e., From and To).
Now you can select the Range of Candidates you want to Add to Sequence by selecting From and To in the Dialogue box.
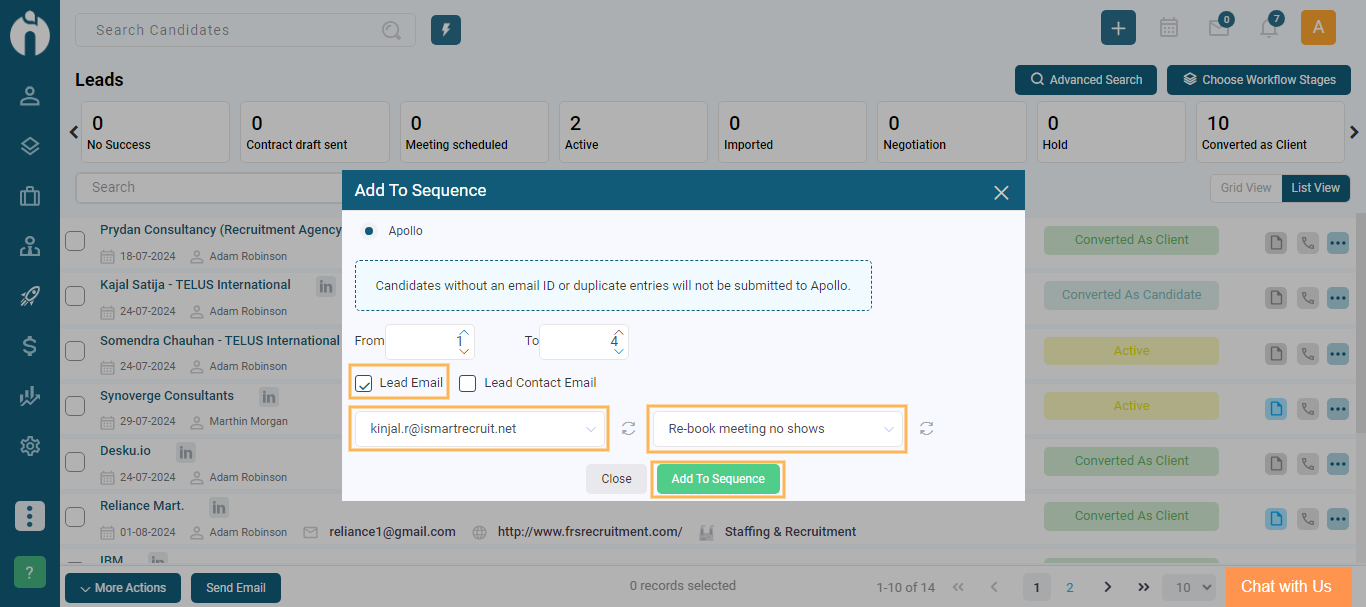
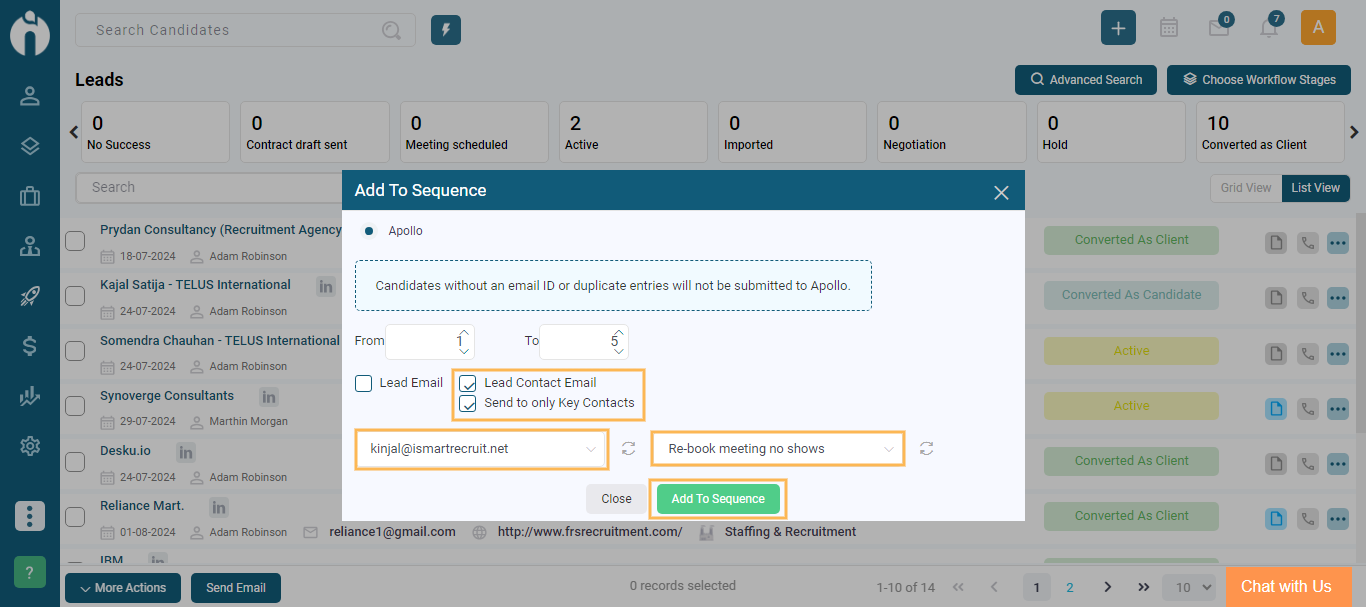
Step 4: Now you can also see two different checkboxes named "Lead Email" & "Lead Contact Email". You can select to whom you want to add to the sequence.
If you select only the Lead Email Checkbox, then Select Apollo Email and Select Apollo Sequence from the Dropdown given below and Add them to the sequence. Only lead email will be added to the sequence.

If you select the "Lead Contact Email" checkbox, another checkbox labelled "Send to only key contacts" will appear.

If you choose only the "Lead Contact Email" checkbox, then select options from the dropdown menus for "Select Apollo Email" and "Select Apollo Sequence." This will add all contacts of the selected lead into the sequence.

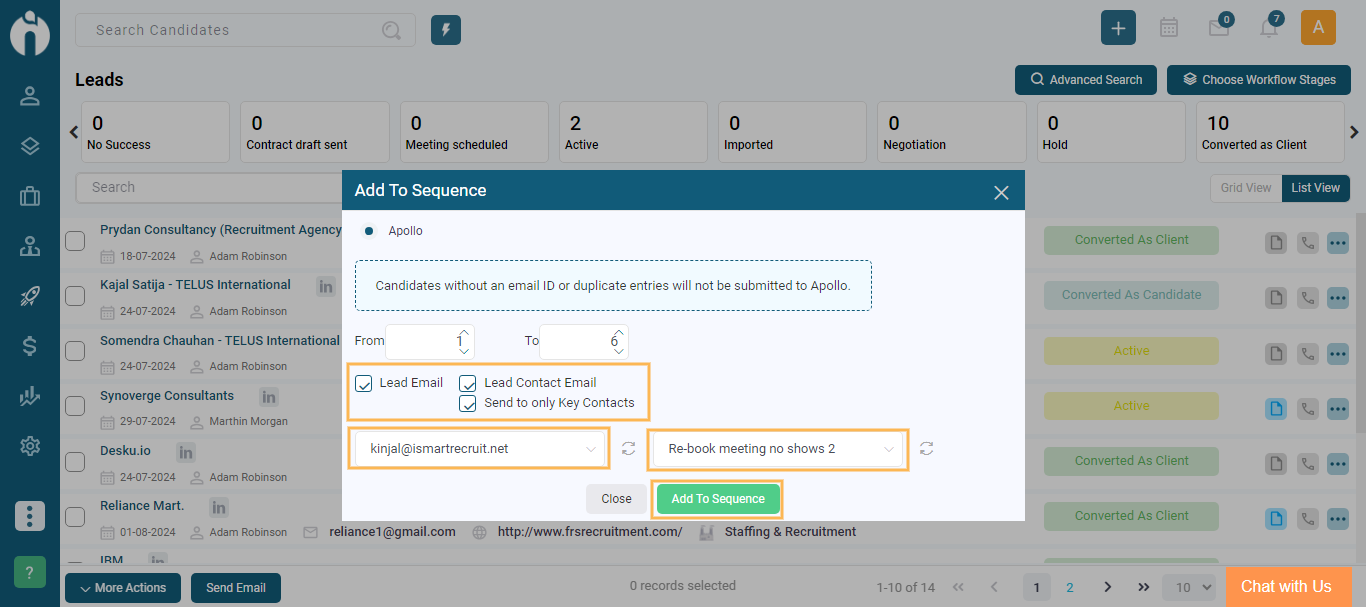
Now if you select the Lead Contact Email checkbox and also select the "Send to only key contacts" checkbox then all the contacts who are marked as key contacts in the selected leads will be added to the sequence.
Now if you select all three checkboxes "Lead Email", "Lead Contact Email" and "Send only to key Contacts" then "Select Apollo Email" and "Select Apollo Sequence" from their respective dropdowns, the lead emails, lead contact emails and lead key contacts will be added to the sequence.

Step 5: Once all the Contacts and Emails are successfully added go to a specific lead, and the Lead View dialogue box will appear. Go to the Activity Tab and under the system log you can see a work log entry for the same.