You can add a declined reason when changing the candidate status to Rejected

Written by Shruti Patel
Sometimes, candidates may be declined for specific reasons. The system offers the capability to select the exact reason for rejecting each candidate.
Follow the steps below to enable the Declined Reason.
Step 1: Click on the "Admin" Module, from the left-hand side of the menu. Open the Customization tab and then go to the Recruitment Workflow option.
Navigation Link: https://app.ismartrecruit.com/admin
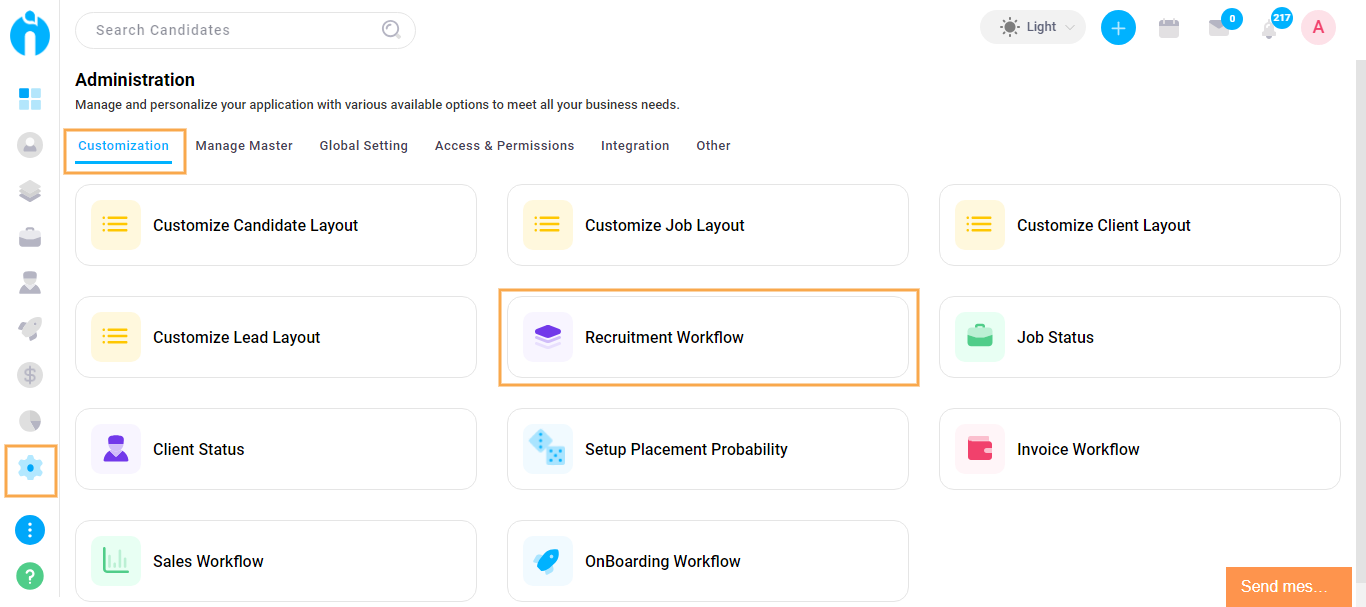
After Clicking on the Recruitment Workflow Tab the screen of Recruitment Workflow will Open.

Step 2: Click on the edit (pencil icon) for the specific status where you want to add the Decline Reason.

Step 3: Now if you click on the edit icon then the pop-up form will appear of edit candidate status. Enable the Candidate Feedback Flag and click on the Update Button.

Once you have updated the Candidate Status, you will see the declined reason for the specific status that you have turned the flag on for the Candidates.
You can add your Decline Reasons, by following the below steps
Navigation Link: https://app.ismartrecruit.com/admin
Step 1: Go to the "Admin" Module from the left-hand side menu option. You need to go to Manage Master and Click on Decline Reason.

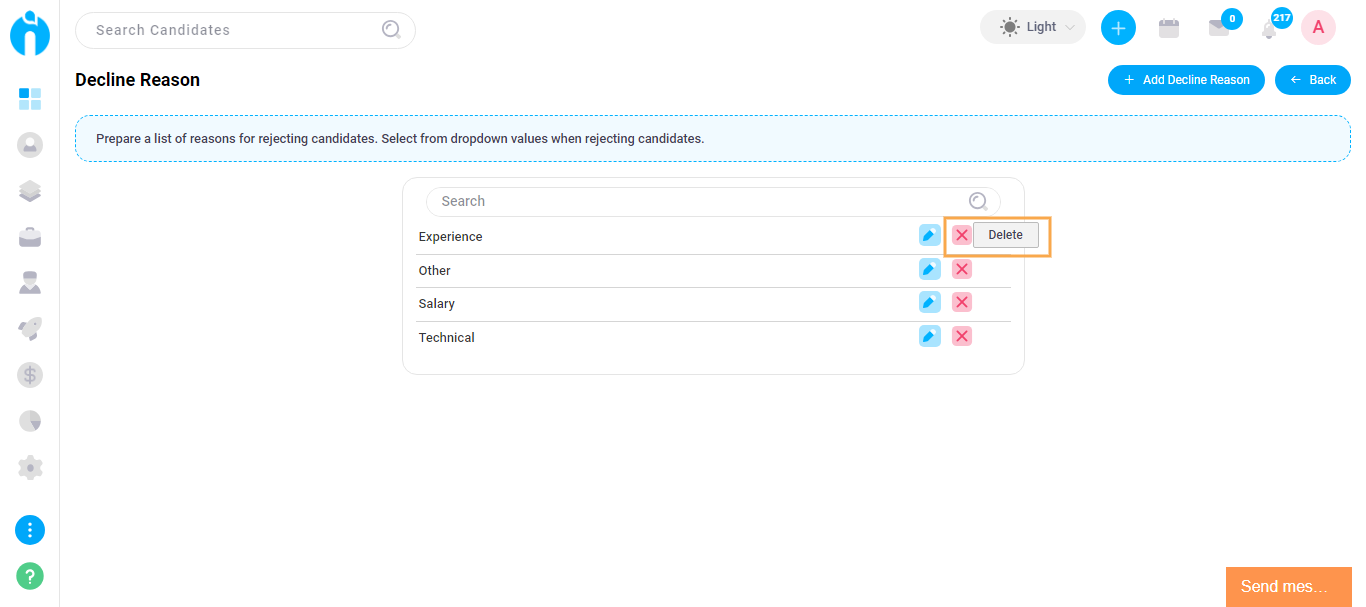
After Clicking on Decline Reason the screen for the Decline Reason will appear.

Step 2: You will get the option to Add more Decline Reasons from the right-hand side.

Add the Decline Reasons you require. Click on the Save button to add all those in the System.

If you want to Edit the already created Decline Reason into the system, you need to click on the Edit (Pencil Icon) near that particular Decline Reason.

After you click on the edit icon a pop-up box will appear where you can edit the decline reason of candidate status and click on the update button below to update the status.

If you want to Remove(Delete) the already created Decline Reason into the system, you need to click on the Cross Icon near that particular Decline Reason.